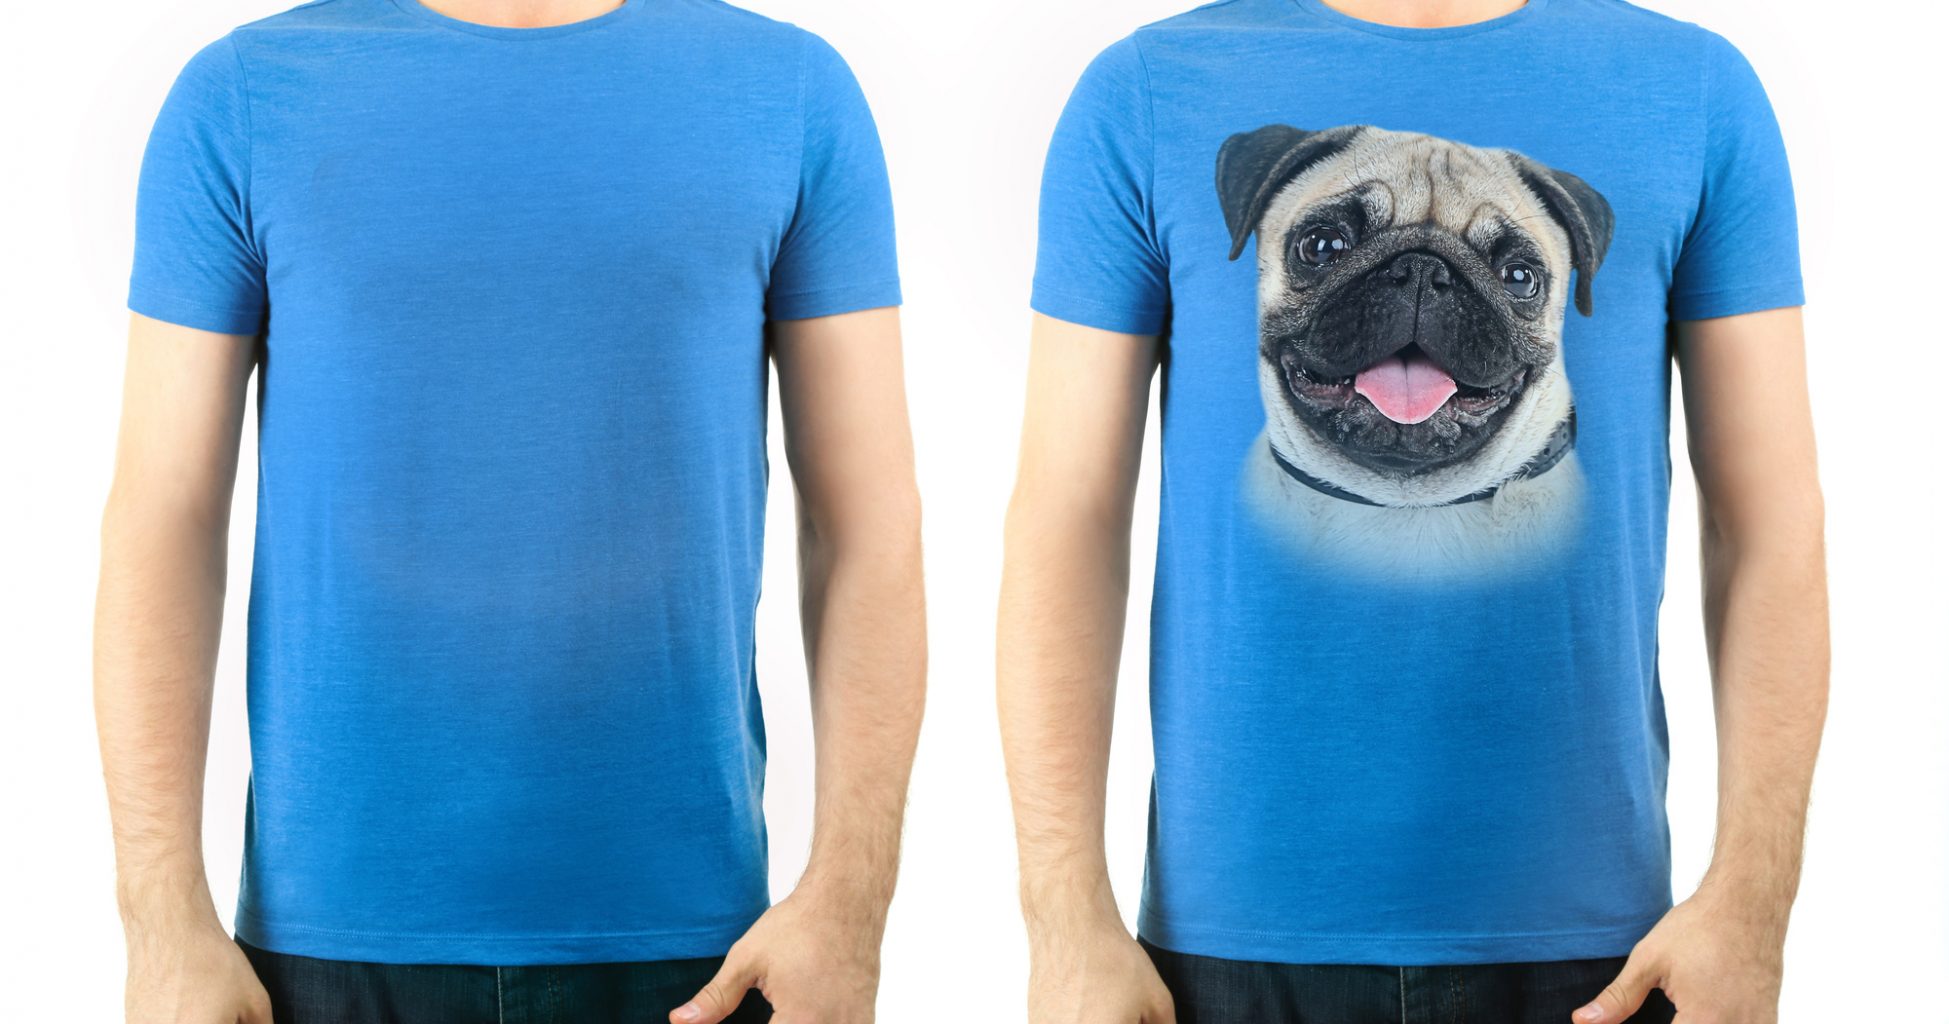
Do you have a picture that you love and want to wear on a t-shirt? Here at The Discover Tee, we can help make that happen.
We can print your picture on a shirt for you, in full color. We can also optimize the image for you so it looks the best it possibly can.
But, if you’re the sort of person who likes to do things yourself, we can also show you how to optimize a picture on a shirt using Adobe Photoshop or another program. To get the best results, it’s important to follow these 10 steps to optimize your photo for printing.
Why Do I Need to Optimize My Image?
When looking at the colors of a computer image, you’re actually seeing an ideal version.
The reason for this? Color modes! As color translates differently depending on how it’s being viewed, a print will always have less vibrancy and detail than what is seen online or through your screen. Different monitors emit light in varying hues that can’t all be captured by traditional printing techniques
A common acronym to describe digital graphics is WYSIWIG (What You See Is What Get). But, if we want our photos to come out exactly as they did when clicked, we need to optimize them for printing. With printing, it’s a case of what you see is not what you get.
When you take a picture, it’s saved in the RGB color mode. This is because when we take pictures, we’re capturing the colors of the real world.
This is what’s called an additive color mode. Red, green, and blue light are mixed together to create all other colors. When printed for customized shirts, this mode doesn’t always reproduce the picture as accurately as we’d like.
So, can we fix that? Yes. We can. This article will explain how.
Adobe Photoshop is the preferred software for this, but apps like Pixlr X may also be used to edit photos for t-shirt printing.
DTG (Direct to Garment Printing)
DTG is the t-shirt printing technology we use to print your photos onto a shirt. We will be talking about preparing photos for DTG in this article, not a screen-printed shirt. But, the same rules about ensuring the photo is optimized still apply.
The DTG method prints directly from a computer file to the garment, bypassing the need for film and plates.
Because of this, the colors are slightly different than what is seen on a computer screen.
That’s why it’s important to optimize your photo for printing. When you do, you’re adjusting the picture so it will look as good on a shirt as it does on your computer screen.
Converting images from RGB to CMYK
When you’re ready to start editing your photo, the first step is converting it from RGB to CMYK. This can be done in Photoshop by going to Image > Mode > CMYK Color.
If your photo is already in the CMYK color mode, you can skip this step. After the photo has been converted, it’s time to start adjusting the settings.
Now that you understand why it’s important to optimize your photo, let’s take a look at how to do it.
Here are the 10 steps for preparing a photo when you’re customizing a shirt.
1. Choose a Photo With the Highest Resolution You Can Get
Every day our Art Department receives images which are an alright resolution for the internet but are too low resolution for t-shirt printing. That’s because a picture that is low resolution will create a blurry image when it’s printed onto a t-shirt.
When you’re choosing a photo to print, make sure to select one that is high resolution. This will ensure the best possible picture quality when it’s printed.
Resolution refers to the number of pixels an image has. Web resolutions typically hover around 72 PPI (pixels per inch). An ideal printing resolution should be 200+. This is crucial because even if you have something that’s 300PPI (ideal), it won’t look good when printed at 12″.
Adobe Photoshop has a feature that attempts to alleviate scaling-up difficulties by blurring the edges of a tiny image to hide the rough pixels and flaws. This makes a small picture that has been resized larger look bad when it’s printed.
Choose the highest resolution version of your photo; you may want to re-download the largest format from your camera (usually RAW). If it’s an image from the web you want to use, a search on Google’s Advanced Image Search could help you find a version with the highest resolution.
Once you’ve obtained the highest-resolution file accessible, it can be edited and resized for printing.
2. Crop and Resize
The first step is to crop and resize the photo. This can be done in Photoshop by selecting Image > Crop. You can also use the crop tool in the toolbar.
When you’re cropping the photo, make sure to leave enough space around the image so it doesn’t look strange.
Cropping Tips:
- Take the picture from a distance of three to six feet. Leave breathing room around the subject. Too close cropping may generate a somewhat claustrophobic effect.
- Keep the specifics in mind. A person’s arm being chopped off, for example, may be startling.
- Pay particular attention to the edges. Leaving incomplete components may create unwanted visual distractions.
- Centering the subject is not necessarily the best. Use the Rule of Thirds for more interesting compositions.
After cropping, resize the photo by selecting Image > Image Size. In the Resolution section, make sure to change the PPI to 200. If your photo is in CMYK mode, you can skip this step.
3. Now Resize the Image
Now is the perfect time to change the size of the image to the correct one for printing. Or, to put it another way, it’s time to decide how big or small you want it to be on the actual, final, garment.
We should only do this after cropping because that’s when we know where the edges of the final image will be and we can size it accordingly. If we resize the photo before cropping, we might not leave enough space around the image or accidentally cut off part of the picture.
Ideally, you want to size the photo so that there is about an inch of space all around it on the shirt. That way, it won’t be too crowded or too sparse.
To resize the photo in Photoshop, select Image > Image Size and change the width and height to the desired dimensions. Make sure that the Resample Image box is checked and leave the resolution at 200 PPI.
4. Retouch the Image
Retouching or ‘touching up’ the image means fixing any flaws or blemishes that might be in the picture. This is a step that can be skipped, but it’s always recommended to make the picture look as great as possible.
There are many ways to retouch an image and Photoshop has a wide variety of tools for this. You can use the Clone Stamp tool to clone or copy pixels from one area of the picture and paste them into another. This can be used to fix any blemishes or unwanted marks.
The Healing Brush tool is similar to the Clone Stamp, but it’s a little more forgiving. It samples pixels from the surrounding area and creates a blend of them to cover up any blemishes.
For further information, see this in-depth guide with useful ideas for using the clone stamp.
The Dodge and Burn tools can also be used for touch-ups. The Dodge tool and Burn tool is based on a traditional darkroom technique for regulating the contrast of an image.
The Dodge tool lightens pixels and the Burn tool darkens them. This can be used to bring out details in an image or to make it look more like the original.
Here’s some more information on Dodge and Burn.
We’ll go into a little more detail on each of these later in this article.
5. Adjust Levels
This step is optional, but adjusting the levels of an image can help to improve its appearance. The levels control the brightness, contrast, and black and white points of an image.
To adjust the levels in Photoshop, select Image > Adjustments > Levels.
The histogram in the levels window will show you how your image is distributed. If the picture is too bright or too dark, you can adjust the levels accordingly.
You can also use the Levels window to change the black and white points of an image. This can be useful for fixing images that are too dark or too light.
For more information on the levels, there’s a guide for that.
Levels
For most photos, you should use the sliders to boost overall brightness, bringing things out of the shadows. After that, move the far-right slider to the left and also the middle slider to the left until it looks good.
If you don’t use Photoshop, the technique is identical. On smartphone apps such as Pixlr X, this change will almost always be referred to as Brightness, Lightness, Contrast, or Exposure.
Curves
Another option is to use Curves, which is a program for adjusting tones and increasing contrast. Curves is a more powerful tool than Levels, and it gives you more control over the look of your photo.
If you’re not familiar with Curves, it might be a good idea to practice using it on some other photos before you start working on your picture for the shirt.
For more information on Curves Adobe has a great guide.
To open the curves window, use CMD+M or go to the menu Image > Adjustments > Curves. Next, click on the curve and drag it until you have good contrast in your picture.
Saturation
You can also adjust the saturation of an image. This will make the colors more or less intense.
To adjust the saturation, select Image > Adjustments > Hue/Saturation. You can then use the Hue, Saturation, and Lightness sliders to adjust the picture.
Dodge and Burn
The Dodge and Burn tools are based on a traditional darkroom technique for regulating the contrast of an image.
The Dodge tool lightens pixels and the Burn tool darkens them. This can be used to bring out details in an image or to make it look more like the original.
Unfortunately, the Dodge and Burn tools can be a little tricky to use. They require a lot of experimentation to get the right effect. They can be a bit destructive. To work with them, you need to be comfortable with using layers.
6. Adjust Color
We recommend waiting until after the earlier steps to adjust color because color adjustments can affect the contrast and brightness of an image.
If you want to adjust the color of your picture, select Image > Adjustments > Color Balance.
You can then use the Temperature, Tint, and Luminance sliders to adjust the color of your picture.
There are a lot of different ways to adjust the colors of an image.
Hue/Saturation
The Hue/Saturation adjustment is a good way to adjust the colors of an image without affecting the brightness or contrast.
To use it, select Image > Adjustments > Hue/Saturation. You can then use the Hue, Saturation, and Lightness sliders to adjust the color.
Vibrance
The Vibrance adjustment is a good way to increase the saturation of colors without making them look too intense.
To use it, select Image > Adjustments > Vibrance. You can then use the Saturation slider to adjust the saturation of colors.
Vibrance is a Photoshop adjustment that increases colors compared to each other, leaving saturated colors alone.
It has a Saturation slider in the same tool, which is very useful. A lot of the time bumping the vibrancy up and slightly decreasing the saturation is a good way to get the picture you want.
Sponge Tool
The Sponge tool is a Photoshop tool that you can use to adjust the saturation of an image. It’s perfect for images with a limited color palette.
To use it, select Image > Adjustments > Sponge. You can then use the Saturation and Flow sliders to adjust the saturation of an image. Select the Sponge tool and then choose either Wet or Soften from the Mode menu.
The Flow slider determines how much the Sponge tool affects the picture. A low Flow setting will make the Sponge tool affect the picture gradually, while a high Flow setting will make it affect the picture more quickly.
Replace Color
The Replace Color adjustment is a good way to change the color of an image without affecting the brightness or contrast.
Replace Color is a very powerful tool, it allows you to choose a specific color in the photo, set the selection parameters (known as “Fuzziness”), and then change the color to something else.
To use it, select Image > Adjustments > Replace Color. You can then use the Hue, Saturation, and Lightness sliders to change the color of your picture.
You can also use the Eyedropper tool to select a color in the picture. The Fuzziness slider determines how precise the selection is.
Selective Color
It allows you to balance the different color groups with CMYK (cyan, magenta, yellow, black) sliders, as well as the Lightness and Contrast sliders. You can use it to dramatically change the color in your photo.
To use it, select Image > Adjustments > Selective Color. You can then use the CMYK sliders to adjust the color in your picture. You can also use the Lightness and Contrast sliders to adjust the brightness and contrast of your picture.
7. Sharpen the Image
Sharpening is an essential procedure you can do to get the most out of your photograph for t-shirt printing.
It’s more than simply sharpening what you’re looking at. It helps define the boundaries of forms while also improving detail visibility and preventing some of the image’s finer textures from becoming muddy.
To sharpen the image, select Filter > Sharpen > Sharpen. You can then use the Amount, Radius, and Threshold sliders to sharpen the image.
- To get a sense of what’s going on, start with a radius of 1 pixel and gradually increase the size to 500 to better see what’s happening
- Finally, make the radius a bit larger until you can see a clear outline around everything, not too thick or thin.
- When you’re happy with the results, decrease the amount of blur until the outlines are barely perceptible.
- At this stage, it’s a good idea to switch the “Preview” checkbox off and on again so you can see the difference between the new version and the original.
- Finally, raise the threshold a few pixels higher to minimize some of the “noise” generated in the larger regions.
Wondering, what do amount, radius and threshold mean? Well…
Amount
Amount is how much sharpening is applied to the picture. A high Amount setting will sharpen the picture more, while a low Amount setting will not sharpen it as much.
Radius
Radius determines how many pixels around the edge of each detail are sharpened. A high Radius setting will sharpen more pixels, while a low Radius setting will sharpen fewer pixels.
Threshold
Threshold determines how different the pixels must be before they are sharpened. A high Threshold setting will sharpen only the very brightest pixels, while a low Threshold setting will sharpen more pixels.
8. Save Your Image
The ideal file format to save an image for t-shirt printing is a vector file such as an EPS or AI.
However, photographs cannot be saved in that file format, only artwork, so most images (especially photos) are saved in a raster format such as JPEG, GIF, or PNG.
Any of these work well at a high DPI but we love PNG format files for t-shirt printing.
To save your image, select File > Save As. You can then choose the format you want to save your picture in. PNG is preferred by most printing companies, including us!
Be sure to use a high-quality setting, such as “Maximum” or “High.”
When you’re done, click the Save button.
9. Print It or Send It to Us!
If you have a DTG printer you can print it onto your t-shirt now!
If not, We would recommend sending the picture to us here at The Discover Tee. We will print it onto the shirt for you and mail it right to your doorstep!
Remember, if photo editing is not your thing, we are more than happy to do it for you. We offer amazing design services which include photo optimizing/editing.
We also do screen printing, embroidery and can combine the different techniques for premium apparel.
We make beautiful things for individuals and also for companies, so if you want a one-off item or a wholesale order we can supply it for you.
10. Receive Your Picture on a Shirt in the Mail
If you do get us to photo optimize and print a picture on a shirt for you, we know you will love the results.
The Discover Tee is a family-owned and custom print shirts company run by a team of professionals with more than 35 years of combined design and printing expertise.
As a result of our long history and the fact we embrace all of the newest technology and trends, we are bonafide rock stars in the printed t-shirts business.
Get in touch now and we’ll make your t-shirt printing dreams come true!

